Office Time Saver: Using Groups in Microsoft Outlook

I was just composing an email to a number of people I will be writing on a regular basis. Rather than reinserting each individual or wasting time searching for that last sent item and forwarding to all, I decided to create an Outlook group. It takes a few seconds to set up, and if you communicate on a regular basis with a particular group of people, this trick can save you a lot of time.

New Contact GroupTo begin, navigate to your Outlook contacts (People). From the Home tab, select New Contact Group.  Select Add Members and choose the appropriate Address List. Next, name your group and click Save and Close.

When you are ready to write your group, select the To…button, under the address book select Contacts. Next, go to the name of your group, double-click  and click OK.

Your group will display in your email and is available for you to use whenever you need it!

study

You can easily edit or delete a group by going to your contacts and searching for the group. Once you find the group, right click on the name and select Edit or Delete.

Capturing Screenshots in Office

To follow along with last week’s post we wanted to give you a few tips on using screenshots in the Microsoft Suite.

From the Insert tab (available in all of the Office products), select the Screenshot screenshoticon.  Microsoft gives you two options you can use to insert an image. Click on the drop down arrow and either select Available Window, which gives you the option to insert another window into your document like in the example below: blog screenshot

screen clipping
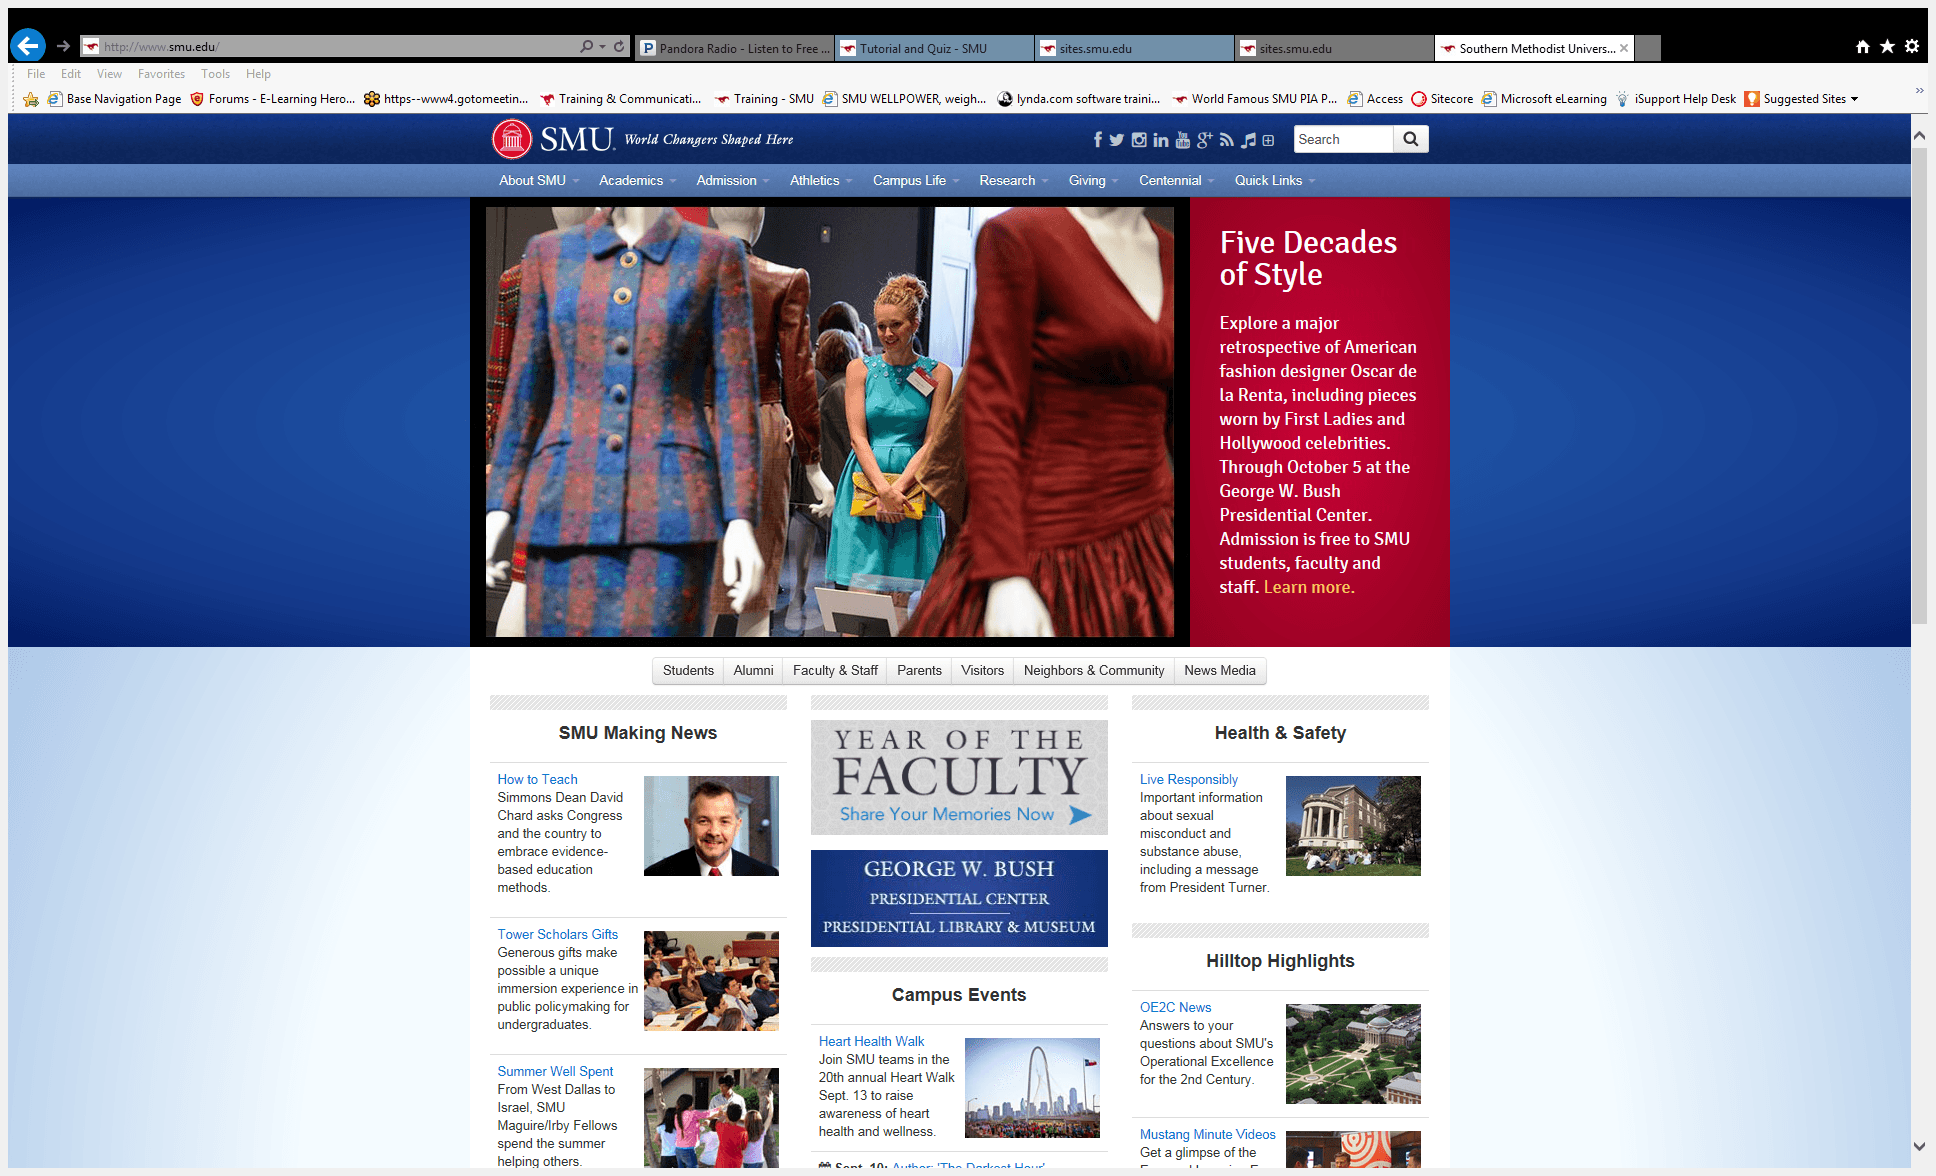
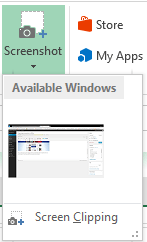
Or, you can insert a Screen Clipping, which allows you to select the specific item you want to insert. First, click on the window you want to grab the screenshot from to make the window active. Next, go back to the Office product you want to insert the screenshot into. Select the Screenshot icon and select Screen Clipping, the window that you were previously on will gray out.

The cursor will change to a cross +. Left click and select the area you want to insert. Here, I selected just the clip I wanted.

5 decades
That’s our quick tip of the day.  Happy screen clipping!


You Sent What Email?

outlookWouldn’t you know it, right after I posted my last blog “Never miss an email again“, I found myself being humbled in a conversation saying “You sent what email?”

In my prior post, I talked about setting alerts in Outlook for those critical emails that you need to respond to right away.  However, the messages that rank high in the importance category and require some phone calls or research before I can respond need a different approach. I need those types of messages to stand out in my inbox as a visual reminder of their importance, and for me it’s also a kick in the pants that I better not drop the ball on this one – especially, when it comes to prompt customer service.

How do I solve that dilemma? Conditional Formatting – that is, it’s a great solution if you are a PC user. (Sorry Mac users, it’s not available in Office 2011, but I have read there have been a lot of requests for it in the next release. Maybe you’ll see that in the future.)

conditional formatting

Notice in the above pic, you’ll see unread email in the standard blue font and then one in a bold green font.  I changed my formatting, so every time I get an email from a specific email account, it stands out with that font. You can specify conditional formatting to occur from specific individuals, when certain keywords are used, etc.

Here’s how…

1. Go to your mail, task, calendar etc. (wherever you want to add conditional formatting)

2. From the View tab,  select View Settings view settings

3. Select Conditional Formatting

4. Click Add and type the name of your rule

5. Click Font and specify the font type, size and color that you want your specified email to display

conditional formatting2

6. Click the Condition button

7. Specify the condition for your email

8. Click OK

9. Click OK

Will conditional formatting solve my problems for not missing an email again? Probably not, but between this and setting alerts, I’m hopeful it will keep me more organized and lessen my chances of eating humble pie once again!

Never Miss an Email Again!

Email-client-applicationBy Laurene Klassen

No matter how many times I organize my inbox I somehow manage to get to the point of needing to reorganize it.  In many of my trainings, I’m often asked for tips on how to make sure one doesn’t miss an email from key individuals or contain keywords.  Here’s a tip I’ve found handy.

If you are like me, there are probably certain emails that you receive that rank in priority for replies. Maybe it’s from your professor, supervisor, or about a critical project.  In any case, I recommend setting alerts on emails that are sent from key partners or contain keywords.  You can customize your alert to notify you by playing a specific sound, marking your email with high importance, or even displaying the email in an alert window.  So, no matter how many emails you get you’ll be sure to not to miss the critical ones!

email alert

For instructions on how to set alerts, and a number of other tips to keep your inbox from spiraling out of control, see our Outlook Productivity handouts for PC and Mac.  (By the way, these instructions are written for Outlook 2010 and 2011. However, the steps for setting alerts haven’t changed for Outlook 2013.)