 By Moez Janmohammad
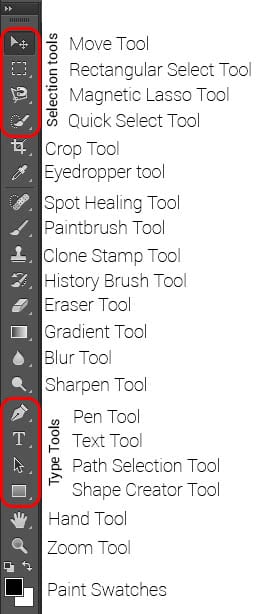
Long-time users of Photoshop can look at the icon of any tool on the Photoshop toolbar and tell you exactly what you could use it for, but chances are, the average user only knows what a handful of these tools do. The Photoshop Toolbar makes up almost 80% of anything you could ever need to do in the program, so below is a rundown of most of the tools.
*Tip- Any tool with a small triangle in the bottom right-hand corner has more tools hidden underneath. To reveal, simply click and hold until the hidden tools appear.
 In the first box are the Selection tools. These allow you to manipulate layers and select objects. The Move tool lets you move objects in the selected layer. To use it, just click and drag.
- The Rectangular Select tool lets you select areas of a picture, a rectangle by default. To make a perfect square, hold the shift key while drawing the shape. By using the context menus across the top of the screen you can make any shape you want.
- The Lasso tool allows you to trace the shape of an object and the line will adhere to the hard edge of your object.
- The Crop tool lets you cut parts of the picture out. It’s useful if there is something on the edge of the frame that you don’t want there.
- The Eyedropper tool helps you to match the color in specific parts of the image. Just click on a pixel and it will add the color to your paint swatches.
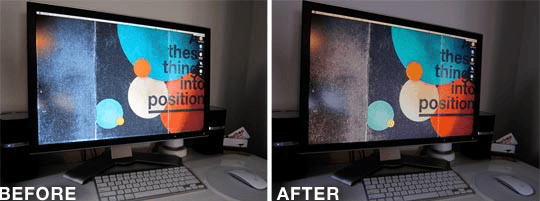
- The Spot Healing tool allows you to remove blemishes from pictures, including red-eye, acne, dust, and other particles. Photoshop will sample around the area and make it blend in.
- The Clone Stamp tool duplicates part of an image onto another spot in an image. It’s useful if you want to reposition something, like moving a soccer ball closer to a player in an image.
- The Gradient tool creates a gradient to cover a whole image from foreground to background. You can use your own colors or choose from Photoshop’s presets.
- The Blur and Sharpen tools both act like paintbrushes but have different effects on your photo. The Blur tool allows you to blur parts of the photo, and you can choose the strength of the blur, the style, and how much it feathers. The Sharpen tool will remove unnecessary pixels and make the area look sharper.
- The Type tools allow you to add and manipulate text or shapes in an image. The most commonly used of these is the Text tool which lets you type into an image and create text masks.
To learn more about Photoshop and how to use it, check out the Photoshop tutorials page.
Or, to learn more about downloading Adobe CC on your University-owned computer, visit our service page.
Update: Removed reference to Adobe TV.


