Capturing Screenshots in Office

To follow along with last week’s post we wanted to give you a few tips on using screenshots in the Microsoft Suite.

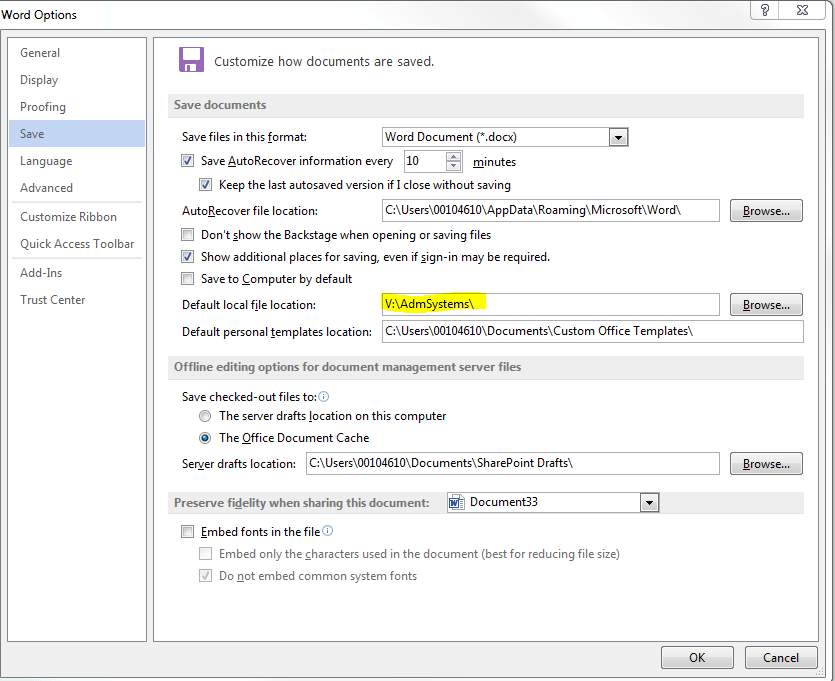
From the Insert tab (available in all of the Office products), select the Screenshot screenshoticon.  Microsoft gives you two options you can use to insert an image. Click on the drop down arrow and either select Available Window, which gives you the option to insert another window into your document like in the example below: blog screenshot

screen clipping
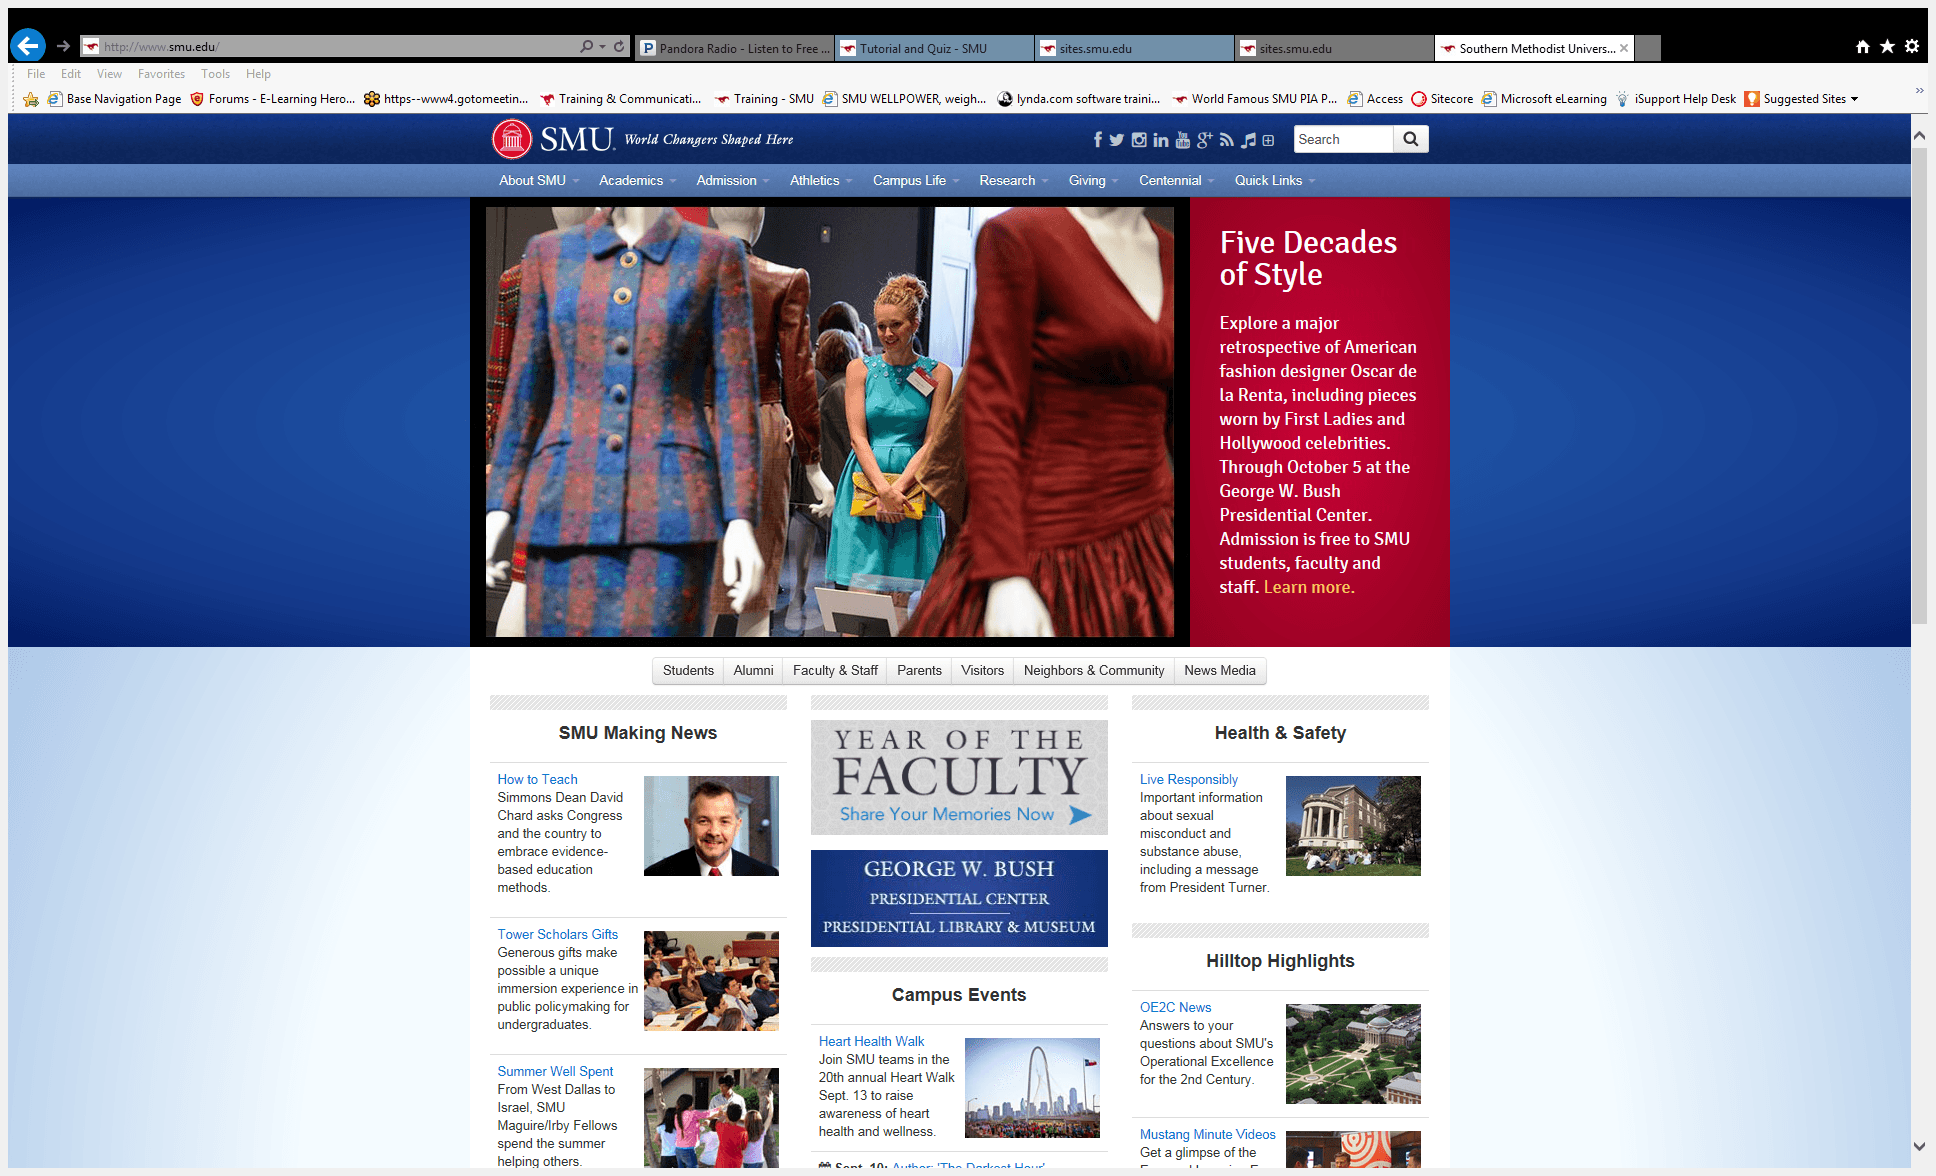
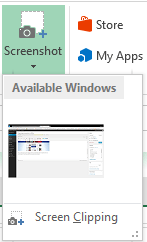
Or, you can insert a Screen Clipping, which allows you to select the specific item you want to insert. First, click on the window you want to grab the screenshot from to make the window active. Next, go back to the Office product you want to insert the screenshot into. Select the Screenshot icon and select Screen Clipping, the window that you were previously on will gray out.

The cursor will change to a cross +. Left click and select the area you want to insert. Here, I selected just the clip I wanted.

5 decades
That’s our quick tip of the day.  Happy screen clipping!


Office Time Saver: Customize How Documents are Saved

I author a lot of documents, and when it’s time to save them, I generally need to save them on our server. In fact, 90% of my documents end up in a shared drive. Currently, when I go to save my Word document (or any other Office Doc  I’m working on), I have to navigate from the defaults Document folder and scroll to the server I want to save to.  It’s really a waste of time to do that every time you save a doc, so here’s a quick time saver tip when you generally save somewhere besides the default location.

From the Office program that you want to change the save options:

  1. Go to the File tab.
  2. Click Options.
  3. Select Save.
  4. Locate the Default local file location and find your new default folder.
  5. Click Ok.
  6. Do a happy dance around your desk. You just set up your office application to work for you more efficiently! 🙂

Office quick tip

Stay tuned for other quick tip Office time savers!


About Wiki.SMU


Wiki.SMU RGB

Wiki.SMU is an online documentation system that allows for collaboration and shared editing of articles.

Uses

  • Instructons/ How- to articles
  • Process documentation
  • Frequently-updated documents
  • Document versioning

Benefits of using Wiki.SMU

  • Wiki documentation is available on the web, from anywhere.
  • Viewing and editing wiki pages can be restricted to certain network users and groups.
  • Information in one page can be used in other pages, making frequently-updated information easier to manage.
  • Documents are indexed and easily searchable.
  • Editing uses a simple graphical interface; pictures can be pasted directly into page.s
  • Wiki documents are versioned: changes are tracked over time.

Requesting a Wiki

Faculty and staff may request a wiki for instructional or departmental usage. The request form can be completed via the Online Support Center.

For more information on Wiki.SMU, click here. You will need to login with your SMU ID and password.

Internet Browser Troubleshooting Tips

The IT Help Desk receives reports daily from individuals having trouble using different websites. These reports seem to be growing more and more frequent, and functionality within websites seems to be impacted with each browser upgrade. The following are some troubleshooting tips we use which may help you the next time an application isn’t working as expected in your browser! Continue reading Internet Browser Troubleshooting Tips